Tyler's Shop Talk Ep.3
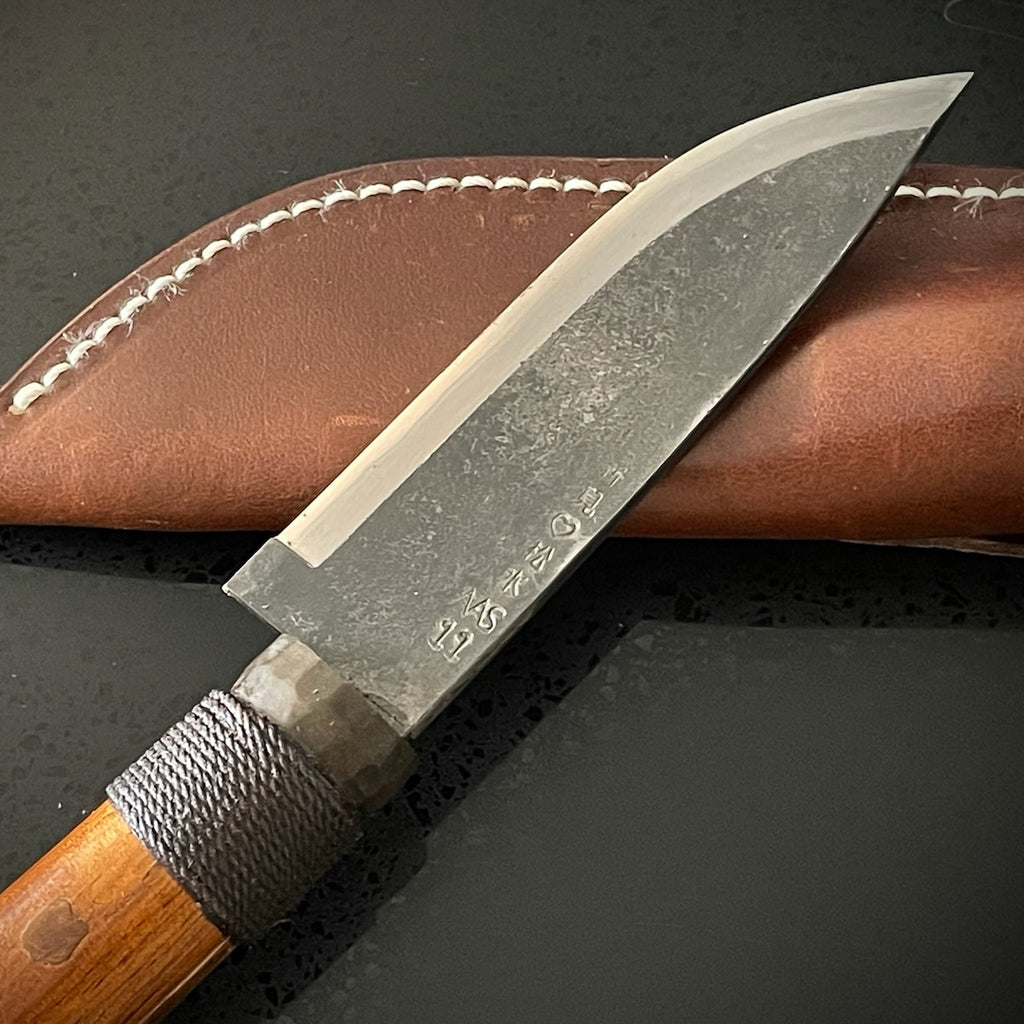
Hey there friends, welcome back to the third segment of my shop talk! In this post, I will be covering how to install a blade in a Japanese (Wa) handle, some things to look out for, and how to make it look as clean as possible!
You will need:
- Handleless blade and Wa Handle of your choice
- Hot glue sticks, and scissors to cut them
- Thin metal drywall spatula
- Blowtorch, or gas stove
- Painters tape
- Bamboo skewer, or toothpick
- Cotton pads
- Paint thinner
- Woodworking chisels or files (Optional)
Method:
Ensure the tang of the blade fits well in the handle, and that the alignment is straight before you move on to the next step. There are a few places to check when you account for straightness relative to the handle:


a) Choil
b) Spine
c) Machi (gap, where a Sakai style tang is exposed by 2-3mm) is optional.
If it doesn't look straight, or the tang gets stuck half way through from the get-go, you may have to use some woodworking tools to expand the handle cavity to create more space. If that fails, the last resort would be to grind the tang thin enough to ensure a good fit and alignment.
-
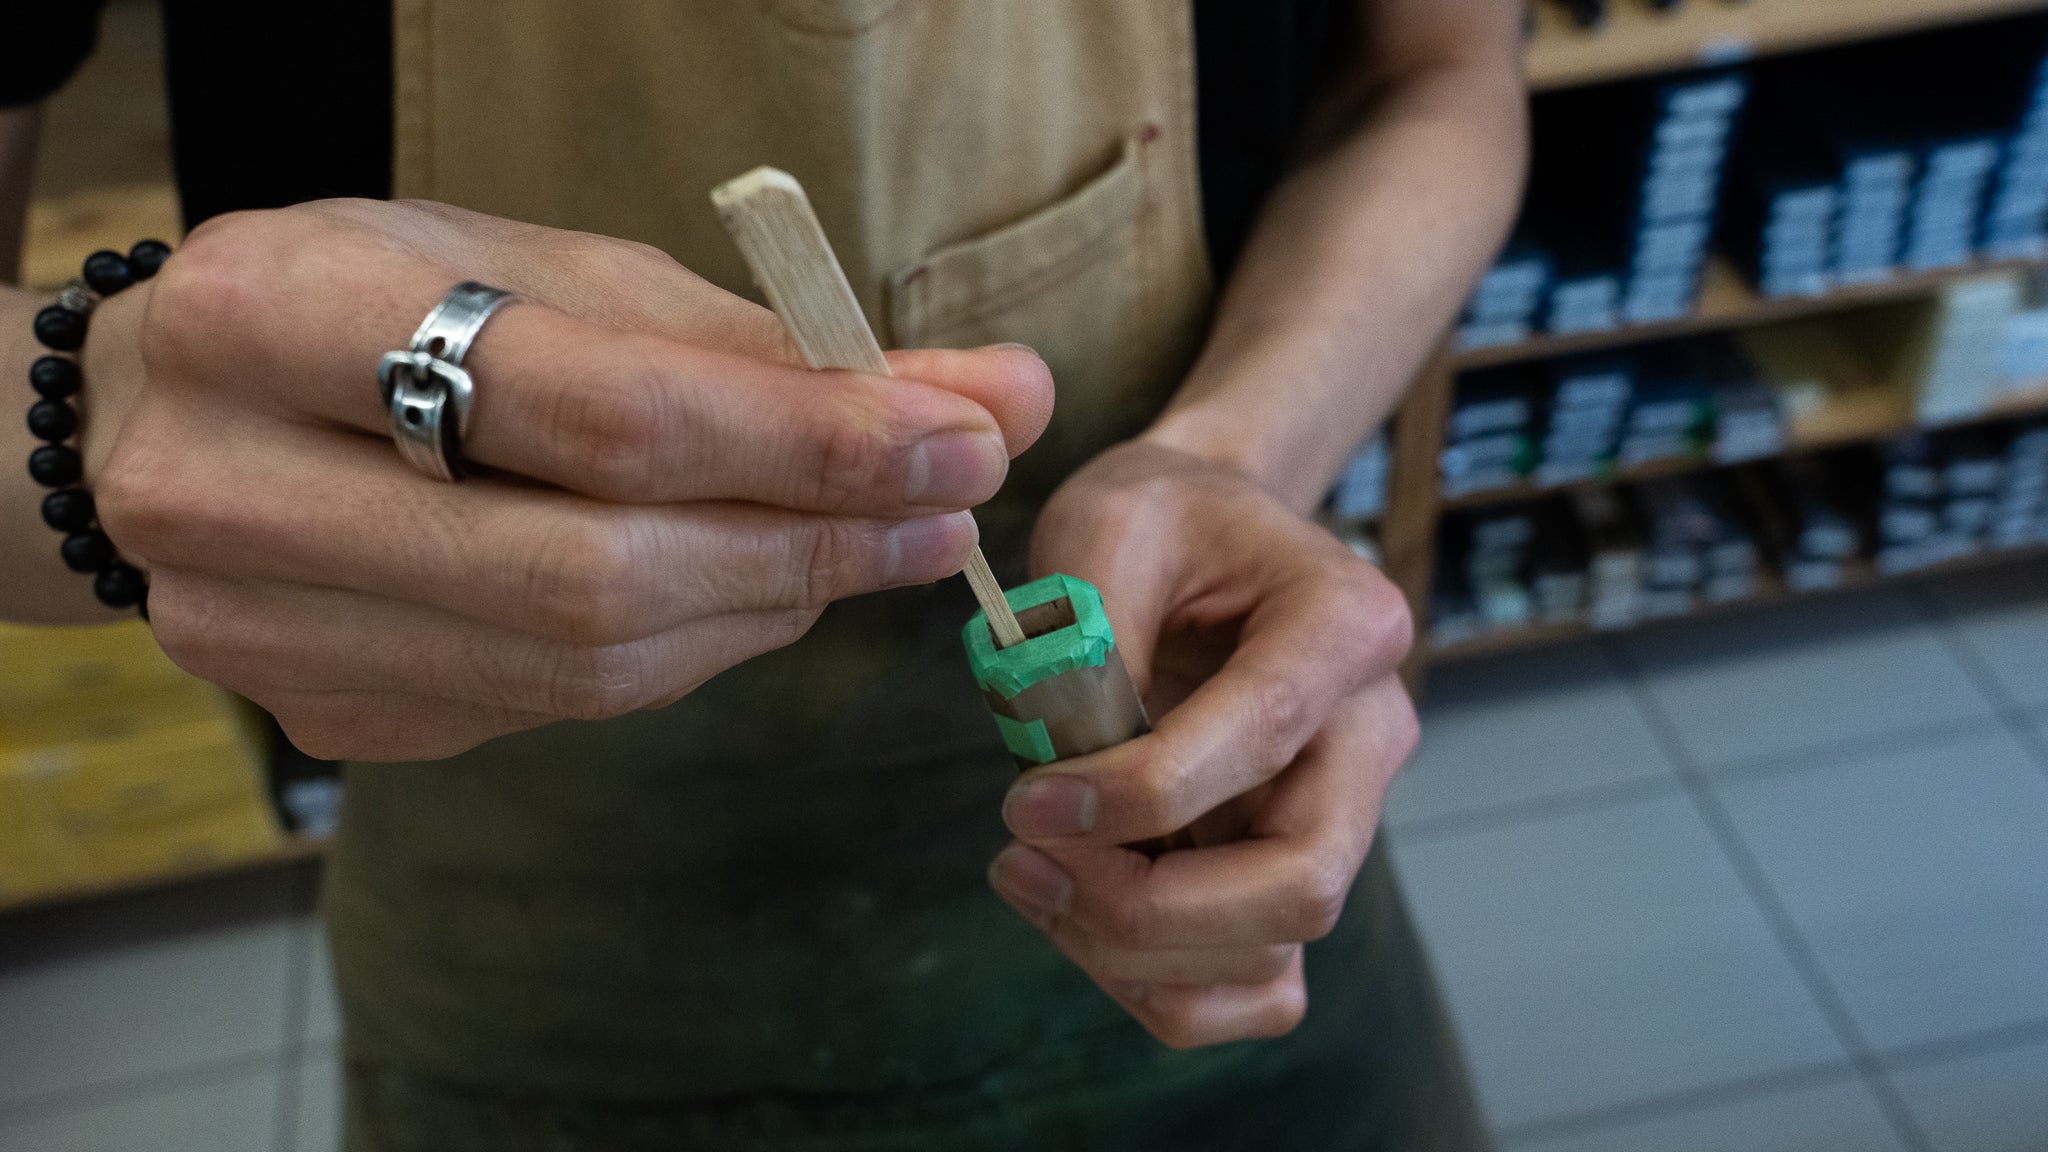
Prepare the surfaces with painters tape. Surround the tang hole on top of the handle with some painters tape to protect the handle material, as well as make for easy cleanup. Do the same on the neck of the knife. Use some painters tape to help you indicate which side of the handle you are going to use to insert the blade.

-
Cut up some hot glue sticks with scissors into thin coins and insert them into the handle cavity. Push them down as if you were loading a musket with a bamboo skewer.

-
Once you have filled up the cavity as much as you can with glue, heat up the tang of the blade (just enough so that it melts the glue pellets) with a blowtorch or gas stove and insert it into the handle. Repeat step 3 if there isn't enough glue in the handle. You want to have it slightly overflowing so that this ensures that the cavity is full and there are no air pockets.


- This step is very time sensitive and the most important. Making sure that the blade and handle are aligned with each other. The glue will quickly solidify, so keep checking and adjusting the blade to the handle until it cools down and cannot move.
-
The hard part is done! To clean up the excess glue, use your thin metal drywall spatula and heat it up with the torch. Go ahead and scrape the excess glue off around the top of the handle, and in between the machi.


-
Peel off the painters tape, and use a bamboo stick and cotton pad saturated with paint thinner to clean up the rest of the glue. This will leave a very clean finish to the handle installation.


And there you have it! A step-by-step guide on how to install a blade on a Wa handle. If you want to learn how to remove a handle, click here to see my previous Shop Talk.